
How to touch up your photographs in Photoshop
Here’s a basic tutorial on cleaning up your images using Photoshop CS2. The procedure should be the same for Elements, too, I think. I hope this will be useful when trying to make something out of those millions of images you shot while on vacation of cars, trees, dust, sky, water, trees and cars.
Step 1
Open the image to be edited in Photoshop. I’m sure you all know how, but just in case Suraaj is reading, Go to File>Open. :-)
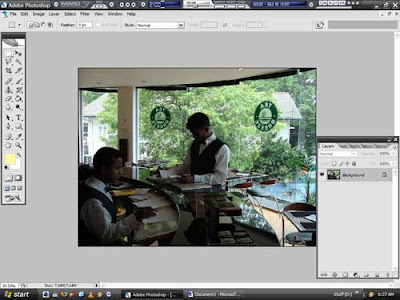
Now, Close all the unnecessary panels in Photoshop. You can do this by clicking on the little x at the top right of each box. Do so for all except the Tools and Layers boxes, since you won’t be needing the rest for this “operation”. So it will look something like this.
Step 2
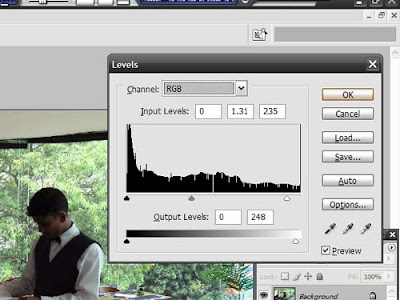
Now, the first thing to do is to press “Shift+Ctrl+L”(Or if you like the hard way, Image>Adjustments>Auto Levels). This will invoke the “Auto Levels” feature, which will try and predict what the picture’s overall colour is supposed to look like. If you don’t like what it does, simply press “Ctrl+Alt+Z”. Now, press “Ctrl+L”. This will bring up the manual Levels adjustment box, which looks like the one below. Mess around with it till you get a satisfactory look in your image. As you might see, dragging the things under the graph and at the bottom will reduce and increase the contrast and brightness in the image. Also, you can do this for each colour too. Experiment.
Step 3
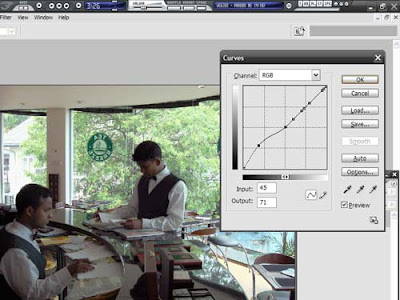
Press “Ctrl+M” to bring up the “Curves” dialog. This will let you increase and decrease the brightness of select parts of the image. To do so, while the box is open, hold “Ctrl” and click on the parts of the image where you think the brightness is enough already, for example the sky, or a window in a room. Each time you click, a small dot will appear on the graph, holding that position. Then, click on a part of the curve, and see what happens. After a while, you’ll get the hang of it, and be able o adjust the thing so that jus the dark bit in your image are given some light. If you have, overall, a bright picture, then the process is reversed. i.e., “Ctrl”+click the dark areas.
Step 4
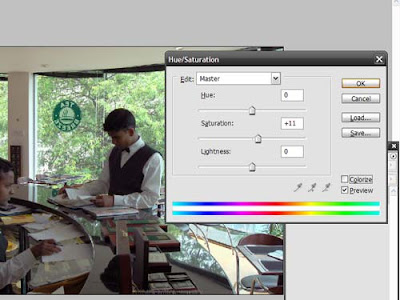
Saturation – Press “Ctrl+U” to bring up the Hue & Saturation dialog. This lets you alter the “freshness” of the image. Click on the slider under “Saturation” and slide away. Big alterations are not recommended unless you want people to look like tomatoes. Usually, +/- 10 works. You can play with the Hue if you want your subjects to appear alien like and display a range of comic book emotions, like jealousy(100) and anger(-30). What it does is, it replaces colours with different ones, as shown in the bar below the sliders. Or you could just click “Colourize”, and see what happens!
Step 5
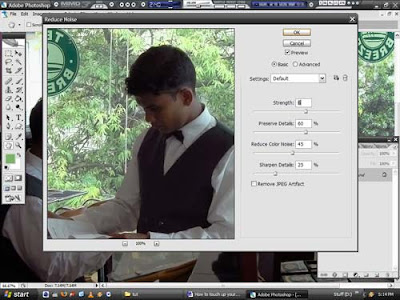
Noise is common, and no one likes it, unless it’s blocking horrible music. To get rid of it, Click on “Filter>Noise>Reduce Noise…”. Then, Slide around till you get something you like. But try and stay away from the “Remove JPEG artifact” checkbox. In nearly all the images I’ve used it on, it just interprets all objects as noise, and goes forth blurring them. After you get something you like, click Done and take a look at what’s become of the image.
Step 6
If you want to do more, like clean up people’s faces, use the lasso tool to select the faces (Press L and then click and drag around the faces). You don’t have to get the lasso around perfectly. A rough shape will do. Then Right-click on the selection and click “Feather”. Enter a value of about 8 for a four mega pixel image. You’ll see what it does in the image below.
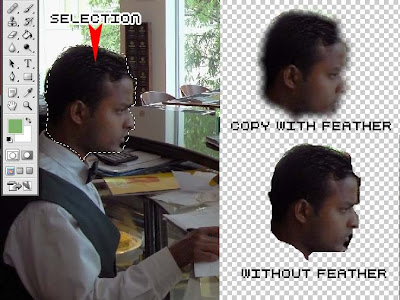
Then, copy that face by pressing “Ctrl+C”, and paste it again using “Ctrl+V”. This will make the face appear in its own layer. This means it can be manipulated separately. Imagine it as shapes made of paper, one on top of the other. Copy and paste various other objects you want to edit separately into more layers. You can rename these layers, for ease of use by double clicking on the layer name in the “Layers” palette(Default names are Layer 1,2 and so on).
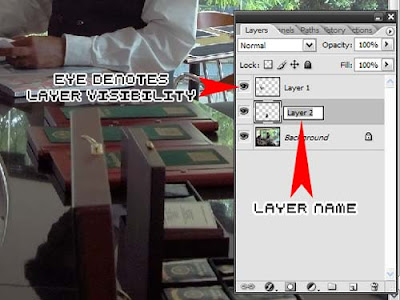
Now that you have your objects in separate layers, use some of the tools described above on your disembodied faces. For example, you might want to emphasize a certain magazine in the image, and so you can make it more visible. To see if your work has made the image better or not, keep clicking on the little eye icon next to the layer names, to make the layers visible and invisible. Doing so will let you see whether the modifications are beneficial, or if the face still looks like the one it was originally.
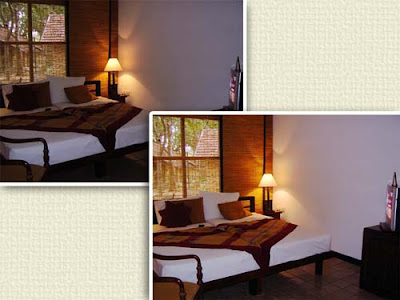
Here are some examples of images done up –
Hotel Room-
 Yala-
Yala-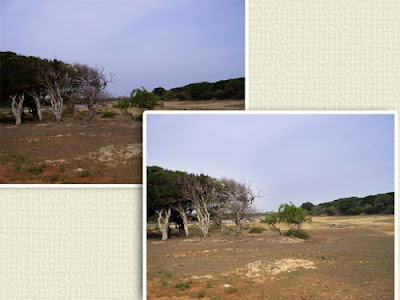 Sloth Bear in Dehiwala-
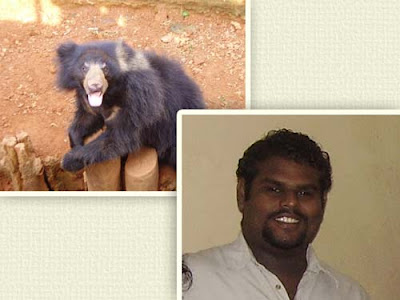 Just as a note, The end result of the above image can be found at http://lame-duck.com/, and runs a pretty interesting forum.
---------------------------------------------------------------
Well, that’s it for now folks! If I can make myself get round to it, I’ll make another on using the Rubber Stamp tool. “Why would I want to stamp my pictures with purple ink?” you ask? Well, It’s a wee bit different in Photoshop y’see…
Well, that’s it for now folks! If I can make myself get round to it, I’ll make another on using the Rubber Stamp tool. “Why would I want to stamp my pictures with purple ink?” you ask? Well, It’s a wee bit different in Photoshop y’see…


